


How to make plaster figures step by step: easy and creative guide
Easy Guide to Making Plaster Figures at Home
Making plaster figures is a fun, creative activity for both children and adults. It requires only simple materials and offers endless possibilities for decoration. If you’re looking for more DIY ideas, explore the crafts section at Vilssa.

Materials you need to make plaster figures
- Cardboard tubes or kitchen paper rolls
- Plaster bandages
- Tempera paints and brushes
- Colored markers
- Contact glue
- A bowl with water
How to make plaster figures step by step
- ✂️ Create the base shape.
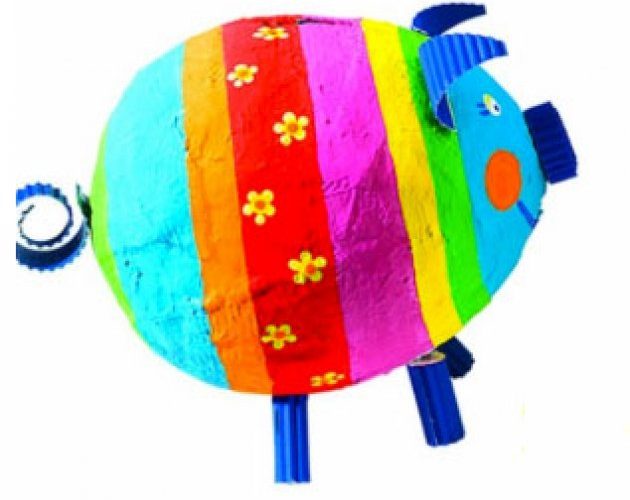
Cut pieces of cardboard to form the basic structure of your figure. For example, to make a small dog, use a roll for the body, strips for the legs and tail, and a smaller piece for the head. You can explore more techniques in the materials section at Vilssa. - 🩹 Apply the plaster bandages.
Dip each bandage briefly in water and place it carefully over the structure. Make sure to overlap them to build a strong, even surface. While the plaster is still soft, smooth it with your fingers to achieve a uniform texture. - ⏳ Let the figure dry completely.
The plaster must dry and harden before painting. Usually, a few hours in a well-ventilated area are enough. - 🎨 Paint the figure with tempera colours.
Once dry, paint your figure with your chosen colours. You can add details, blend shades or create patterns. For more inspiration, visit the decoration section at Vilssa. - 🖍️ Add fine details with markers.
Use markers to highlight lines, eyes, textures or decorative patterns. This step should always be done last to avoid smudging. - 🧲 Assemble and reinforce with glue.
If your figure has separate parts, attach them with contact glue to ensure stability and a clean finish.

Summary table: essential steps
| Step | Action | Result |
|---|---|---|
| 1. Prepare | Shape the cardboard structure | Base form of the figure |
| 2. Cover | Apply plaster bandages | Strength and volume |
| 3. Dry | Let it harden completely | Surface ready for painting |
| 4. Paint | Decorate with tempera | Artistic finish |
| 5. Detail | Add lines with markers | Fine visual accents |
If you’d like to explore more projects, visit the Vilssa search tool:
https://vilssa.com/es/?s=yeso
Publicaciones relacionadas:
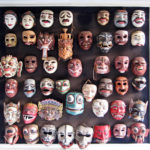 How to Make Plaster Masks Step by Step – Easy DIY Craft for Kids
 How to Measure on a Floor Plan: A Practical Step-by-Step Guide
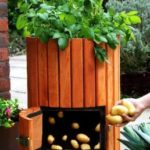 How to grow potatoes at home step by step: practical and easy guide
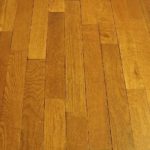 How to repair a parquet floor: practical step-by-step guide
(de translation)
How to repair a parquet floor: practical step-by-step guide
How to repair a parquet floor: practical step-by-step guide(de translation)
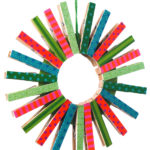 How to Make a Christmas Wreath with Clothespins Step by Step