


How to Make Original Christmas Trees with Cardboard and Gift Wrap
How to Make Original Christmas Trees Using Cardboard and Gift Wrap

- 🎄 Gather all the materials you need. You only need cardboard, gift wrap, white glue, and scissors. For additional creative ideas, check out this project: Christmas trees made with pastry paper.
- 🎁 Select the right decorative gift wrap. Gift wrap is ideal for crafts thanks to its flexibility and variety of designs. You can read more about it on Wikipedia – Gift wrap.
- 📐 Cut the square base from the cardboard. Draw and cut a square whose side length is slightly shorter than the final height you want for your Christmas tree.
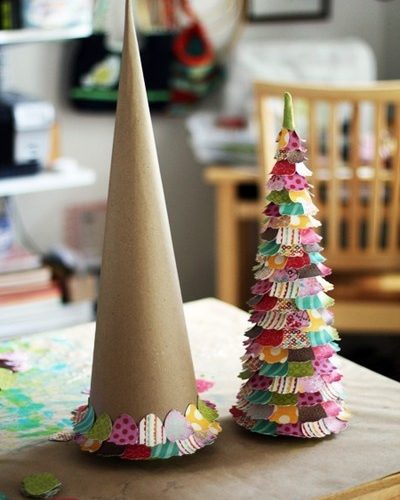
- 🌀 Shape the cardboard into a cone. Roll the cardboard into a cone and glue it with white glue. Once dry, trim the bottom so it can stand upright.
- 🌸 Prepare the gift-wrap petals. Cut petal-shaped pieces from the gift wrap. Glue only the pointed tip so the bottom part of the petal stays slightly lifted.
- ⬆️ Attach the petals from the base up to the top. Overlap them layer by layer as you work upward. This creates a decorative, volumetric texture. For similar inspirations, you can check this plastic-mesh Christmas tree.
- ⭐ Strengthen the top with a larger petal. This makes the top of the tree look more cohesive and decorative.
- 🏠 Place your handmade tree in a visible spot. It works great on a console table, at the entrance, or as a complement to your main Christmas tree. You can explore more ideas in the Vilssa Christmas search tool.
Difficulty: easy
Estimated time: 2 hours
Publicaciones relacionadas:
 How to Make a Metal Gift Box for Wrapping Christmas Presents
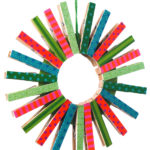 How to Make a Christmas Wreath with Clothespins Step by Step
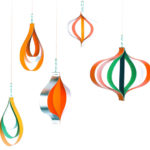 How to Make Christmas Ornaments with Cardstock Strips
 How to Make a Christmas Tree with Recycled Plastic Spoons
 How to Customize Your Christmas Lights with Ping-Pong Balls
 How to Decorate Glass Jars with a Snow Effect for Christmas